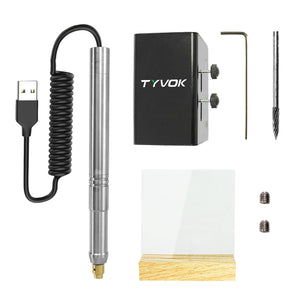
Laser engraving settings chart for TYVOK machines
Use this chart to choose the right TYVOK test path before setting power, speed, and passes. P2, P2 Ultra, X1S, X1S Pro, and K1 Pro use different workflows and different speed units.
Starter chart by TYVOK machine
| Machine | Best first use | Starter speed band | Notes before production | Product path |
|---|---|---|---|---|
| TYVOK P2 2W | Learning, paper cards, light small-item tests | 20-30 mm/s | Use lower power first. Paper and coated card can scorch quickly. | P2 |
| TYVOK P2 10W | Compact gifts, leather, wood pieces, coated cards | 30-50 mm/s | Do not chase maximum speed if finish quality drops. | P2 |
| TYVOK P2 Ultra 20W | Stainless steel, anodized aluminum, tools, metal cards | 300-1200 mm/s by metal and finish | 1064 nm metal marking is a separate workflow from standard P2 blue-laser engraving. | P2 Ultra |
| TYVOK X1S 10W / 20W / 60W | Large-format diode work, plywood, signs, leather, batch layouts | Usually mm/min, tuned by material and power | Confirm software units before running. Plywood glue and density change cut results. | X1S |
| TYVOK X1S Pro 20W / 60W | Larger repeatable production and operator handoff | Usually mm/min | Use fixtures, air assist, and repeatable material support before scaling. | X1S Pro |
| TYVOK K1 Pro 100W CO2 | Clear acrylic, plywood, MDF, signage, CO2 studio cutting | Usually mm/s | CO2 is the right path for clear acrylic. Keep ventilation and flame watch active. | K1 Pro |
These are starter ranges, not guaranteed presets. Test on scrap from the same supplier, color, coating, and thickness before customer work.
Detailed setting guides
Laser engraving settings for wood, leather, acrylic, and metalOpen guideTYVOK P2 2W and 10W speed and power settingsOpen guideP2 Ultra 20W metal marking settingsOpen guideX1S 10W, 20W, and 60W wood cutting settingsOpen guideCO2 vs diode vs galvo laser material settingsOpen guideP2 2W leather engraving settingsOpen guideP2 10W wood engraving settingsOpen guideP2 Ultra 20W stainless steel marking settingsOpen guideX1S 60W plywood cutting settingsOpen guideK1 Pro 100W CO2 clear acrylic cutting settingsOpen guide
Pick the right next page
Full TYVOK laser material settingsSearch by machine, material, operation, power, speed, and passes.
P2 and X1S buying guide mapCompare compact galvo, metal marking, diode, and CO2 workflows.
P2 2W vs 10W vs P2 UltraChoose compact power by material and project type.
X1S 10W vs 20W vs 60WChoose larger-format diode power for wood, panels, and batch work.